お問い合わせフォームをGoogleフォームで作成する
個人ブログから企業サイトまで幅広く使える
お問い合わせフォームをGoogleフォームで作成する
をご紹介していきます。
Googleフォームで作るお問い合わせフォーム完成例
今回、完成させるGoogleのお問い合わせフォームの基本的な内容です。
- メールアドレス
- お名前
- お問い合わせ件名
- お問い合わせ内容
上記の項目でGoogleのお問い合わせフォームを作成します。
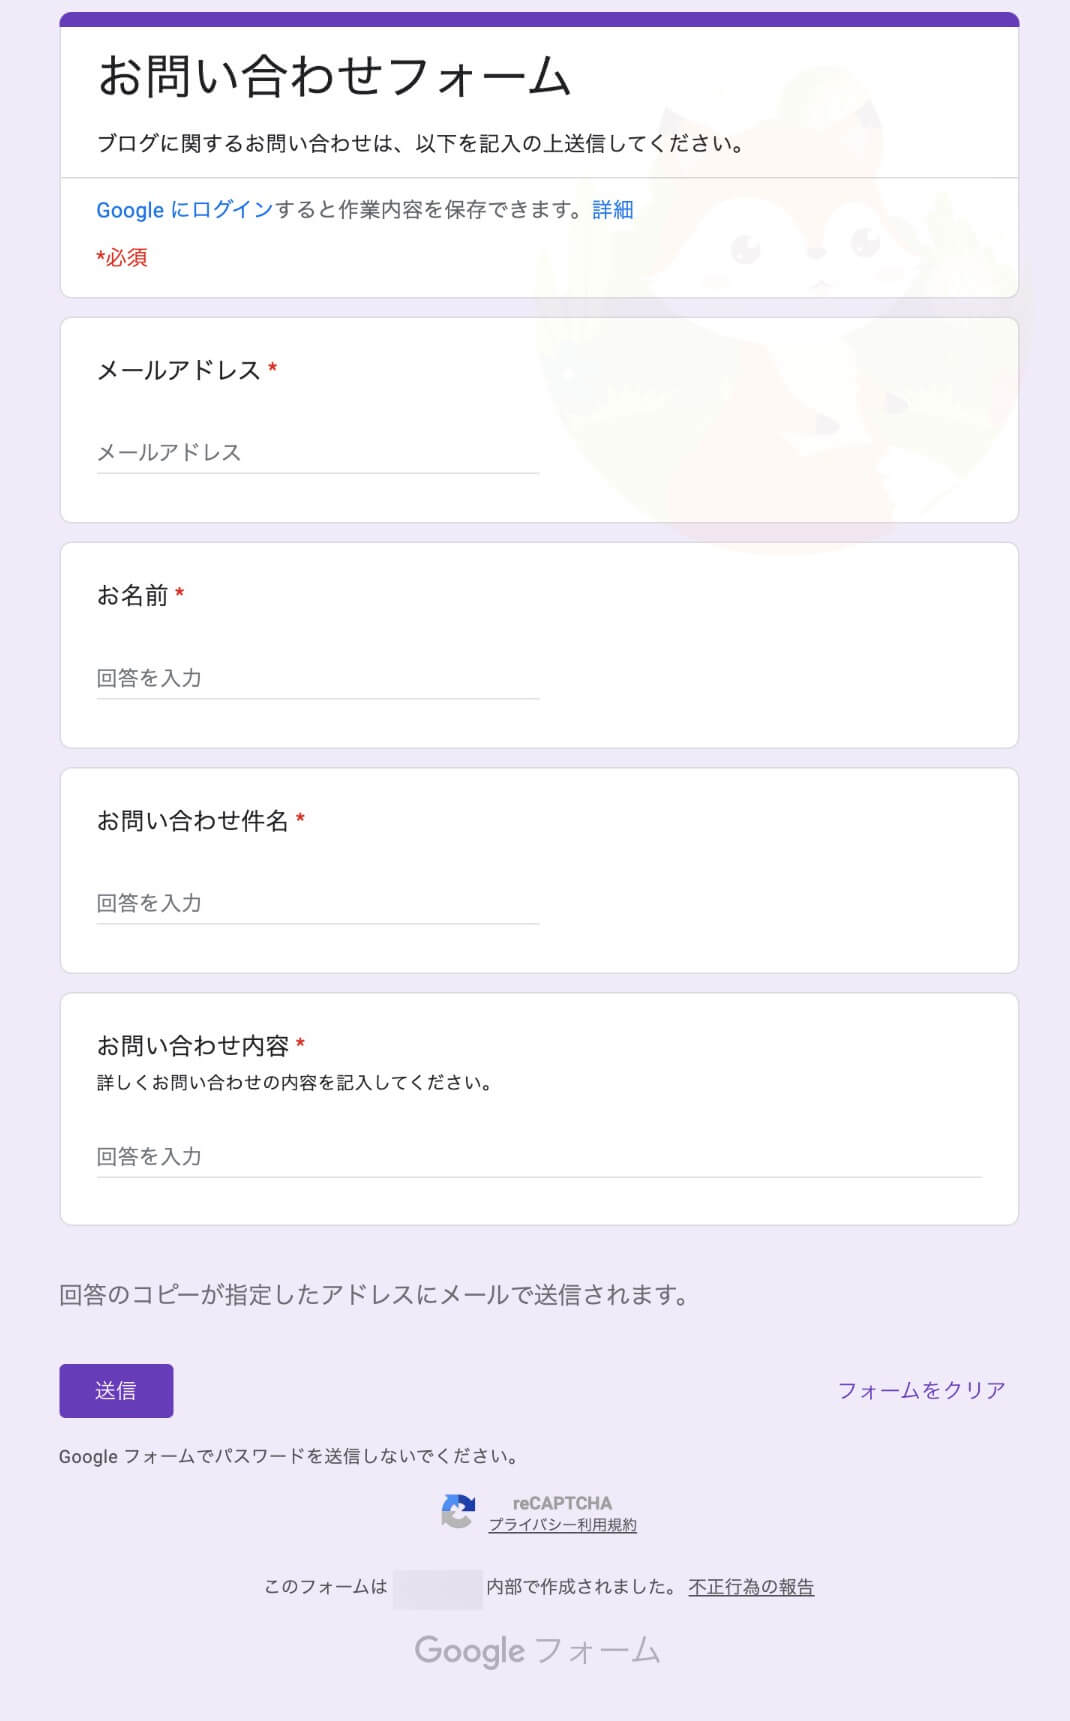
【完成予想】ブログのお問い合わせフォーム
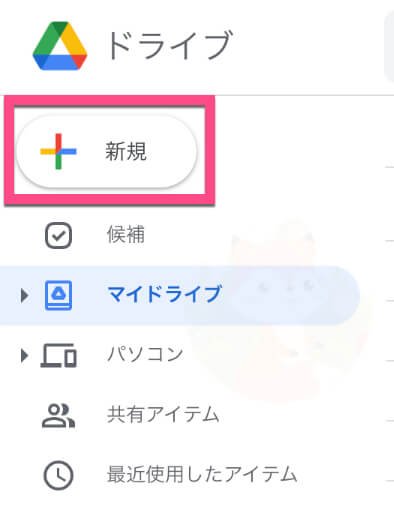
GoogleドライブからGoogleフォームを開く
Googleドライブを開いて、左上の《新規》ボタンをクリックします。
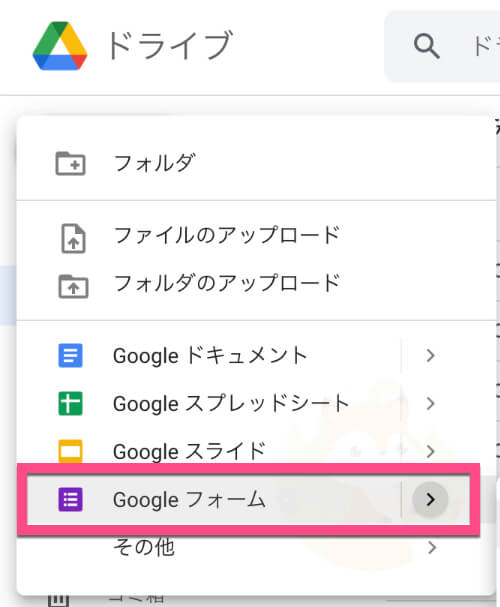
《Googleフォーム》をクリックします。
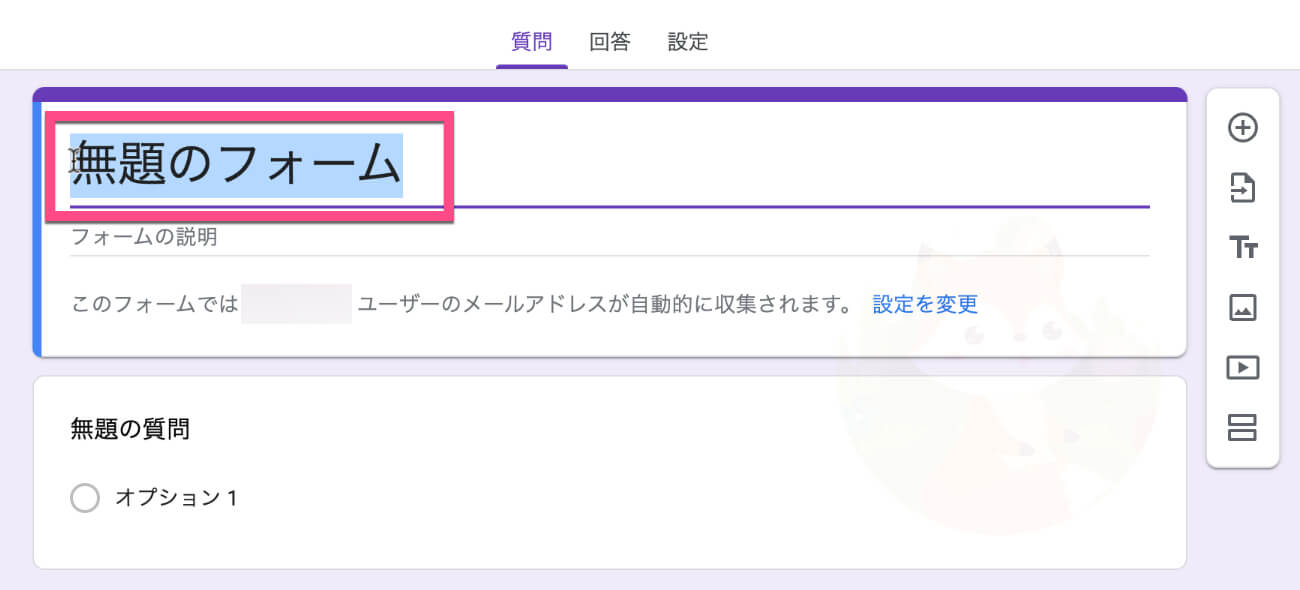
無題のGoogleフォームを編集していく
無題のGoogleフォームが開きます。
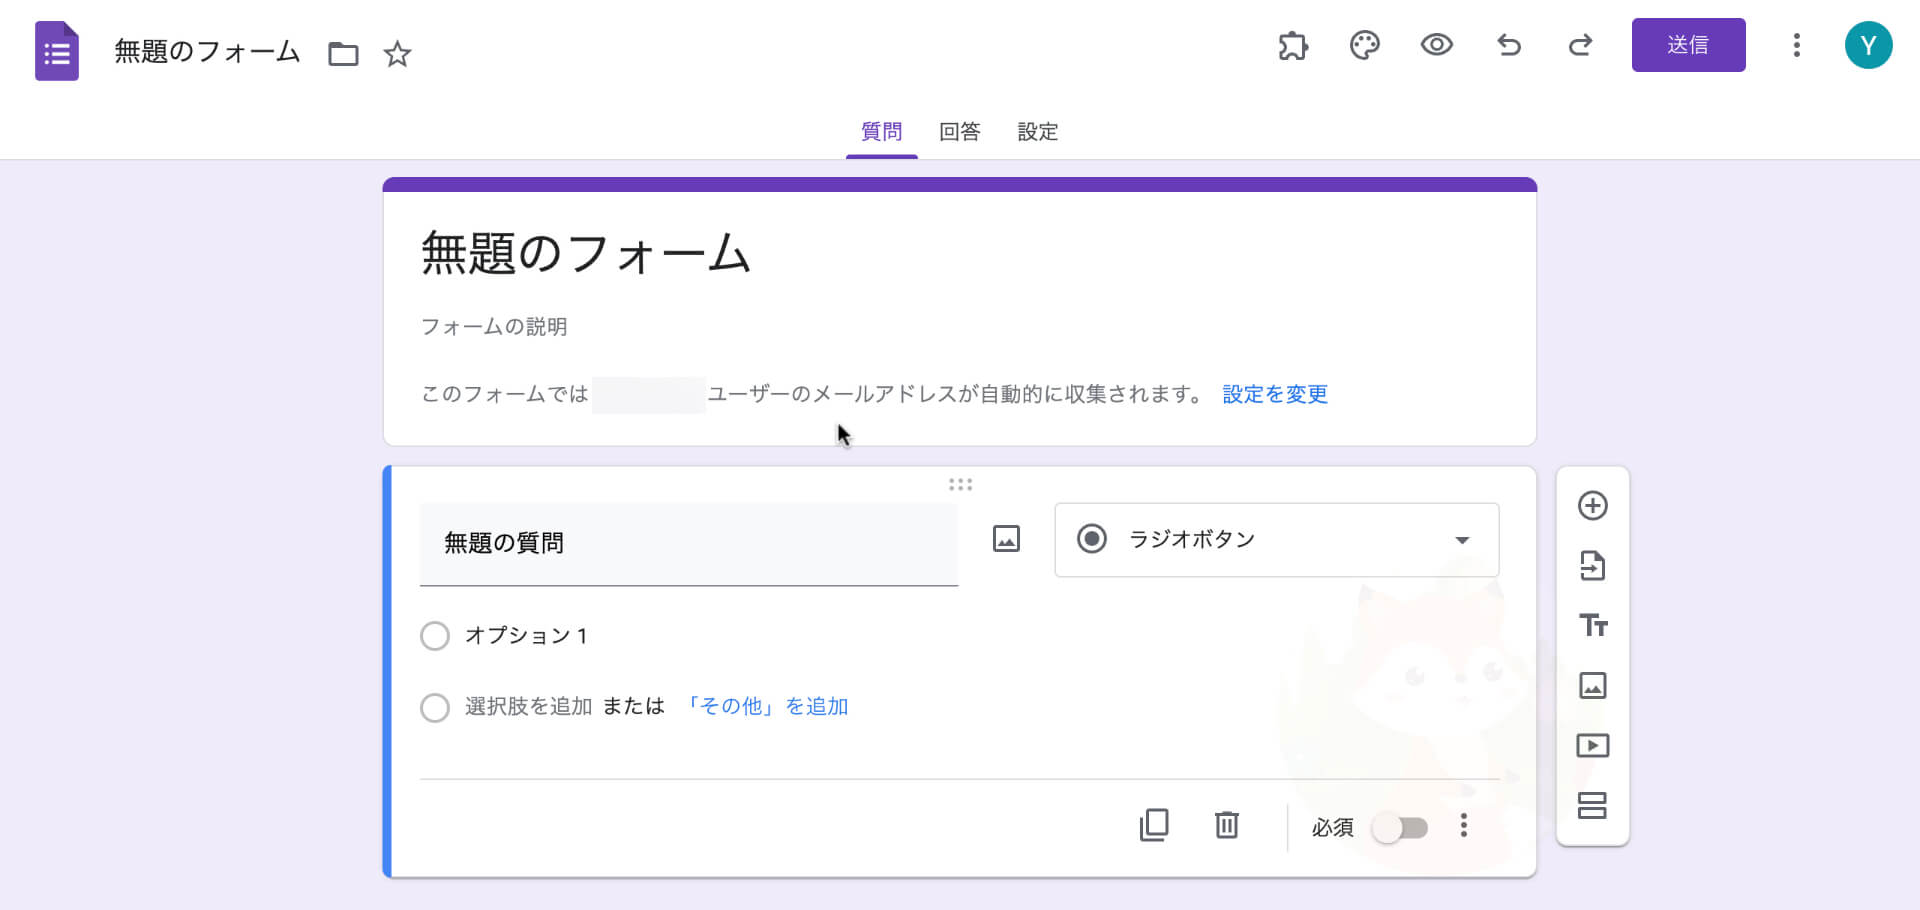
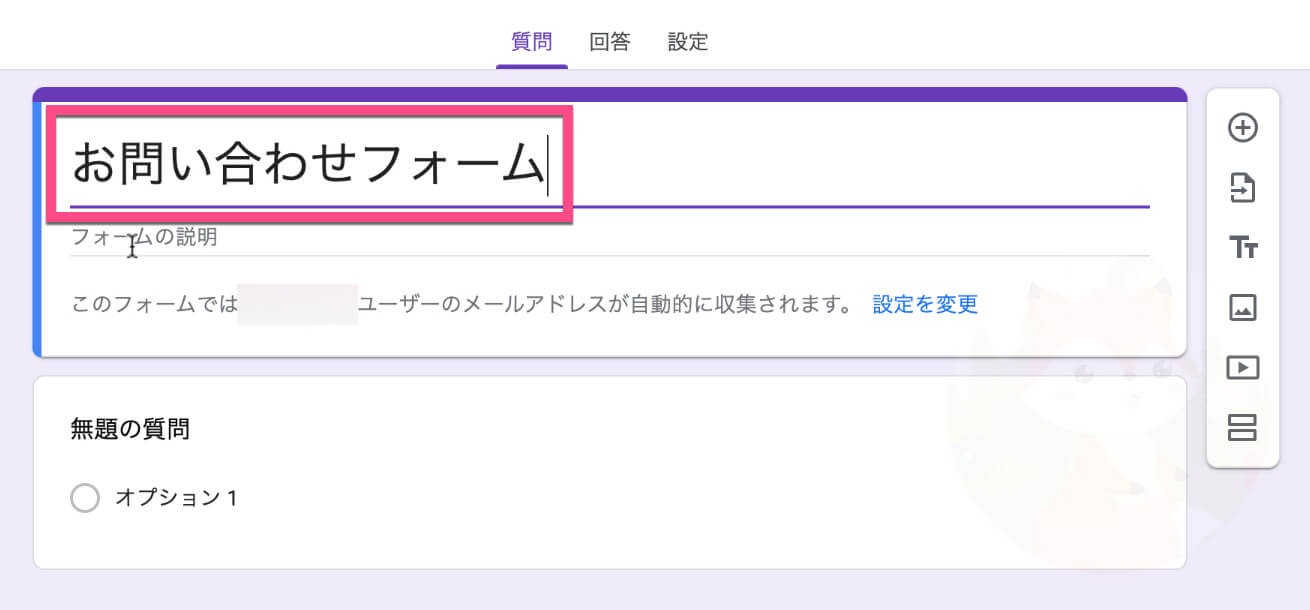
Googleフォームの《タイトル》をクリックして、「お問い合わせフォーム」に変更します。
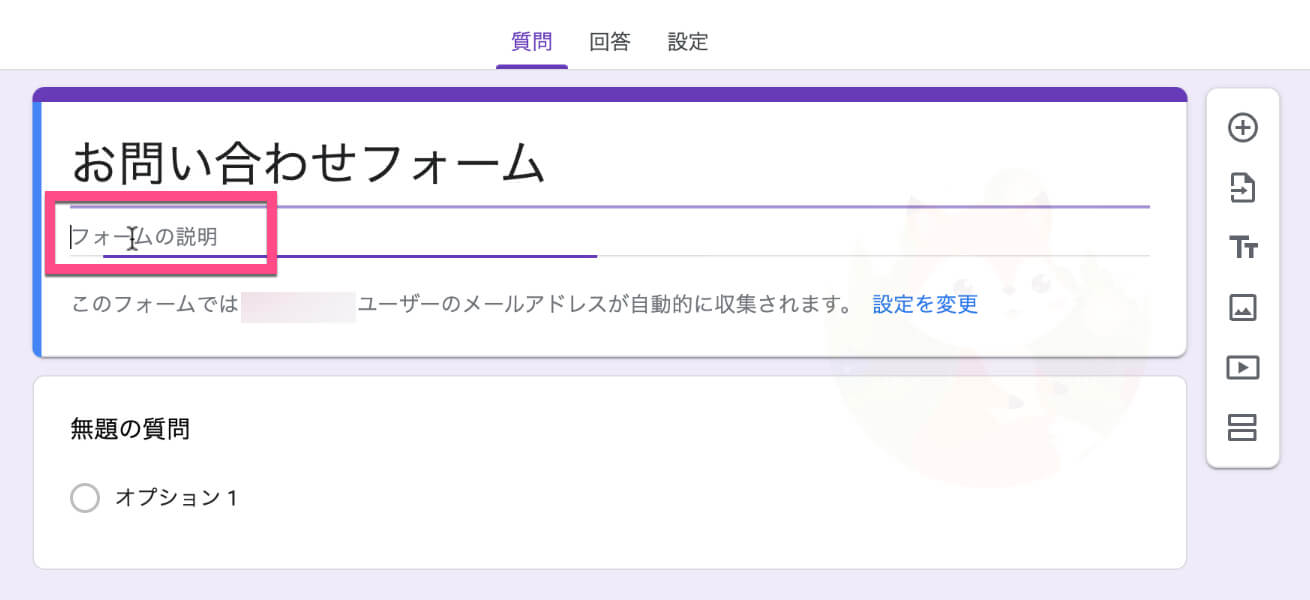
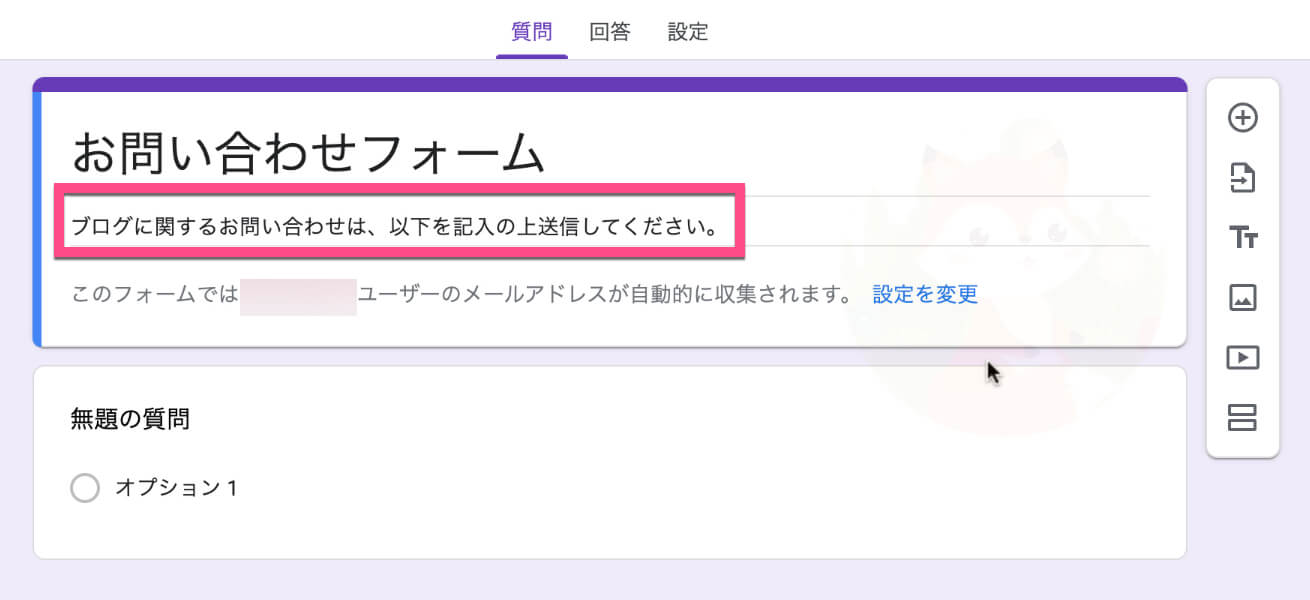
タイトル下の《フォームの説明》をクリックして、説明文を入力します。
メールアドレスの収集設定を確認する
以下の画面と同じ文が出ている方は、右の《設定を変更》をクリックします。
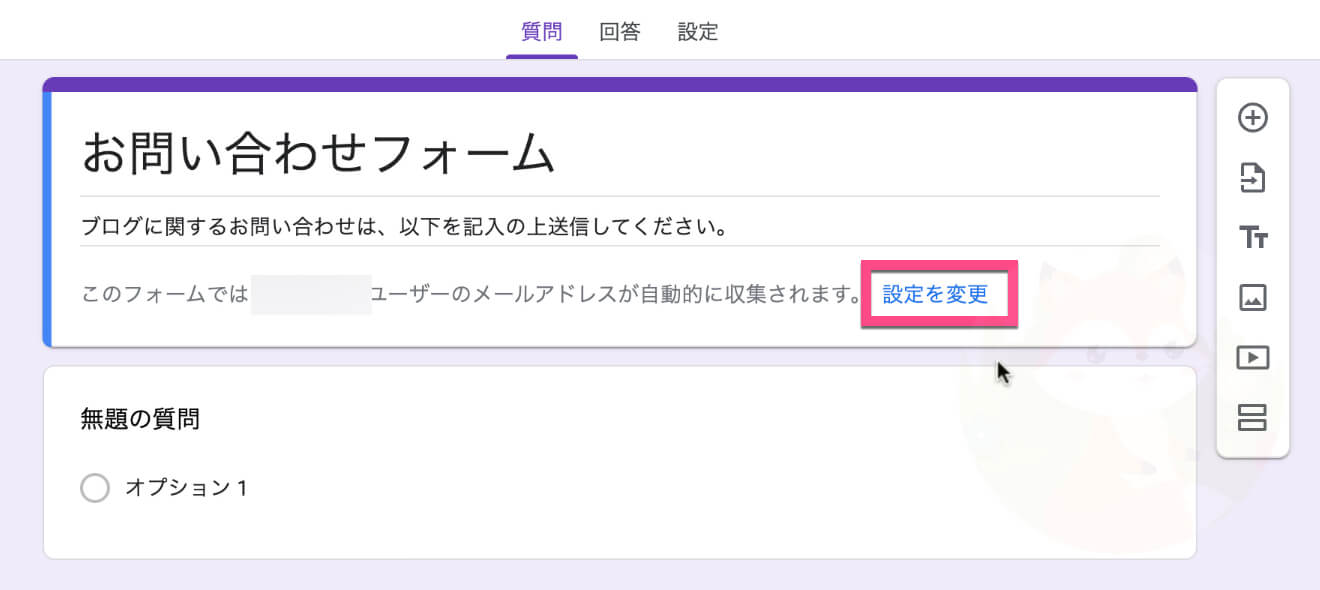
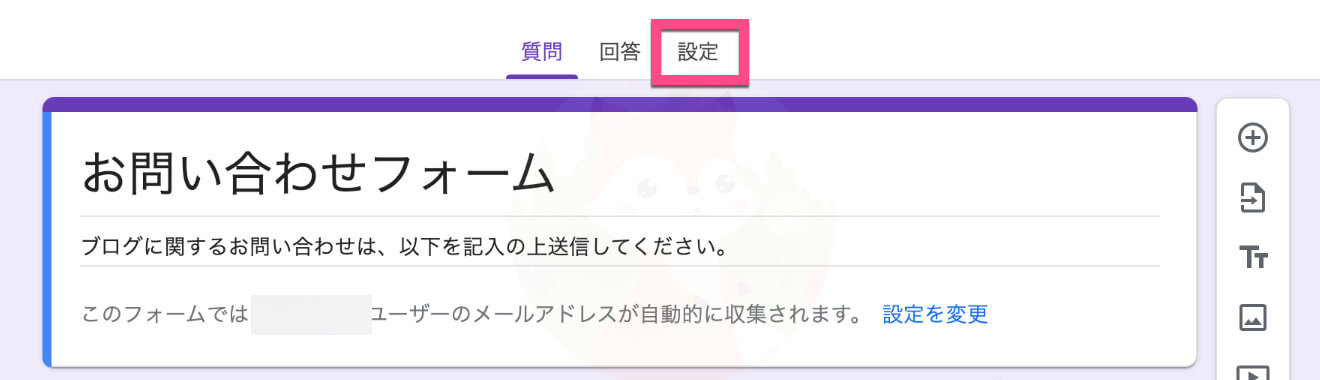
文章が出ていない方は、上部の《設定》をクリックしてください。
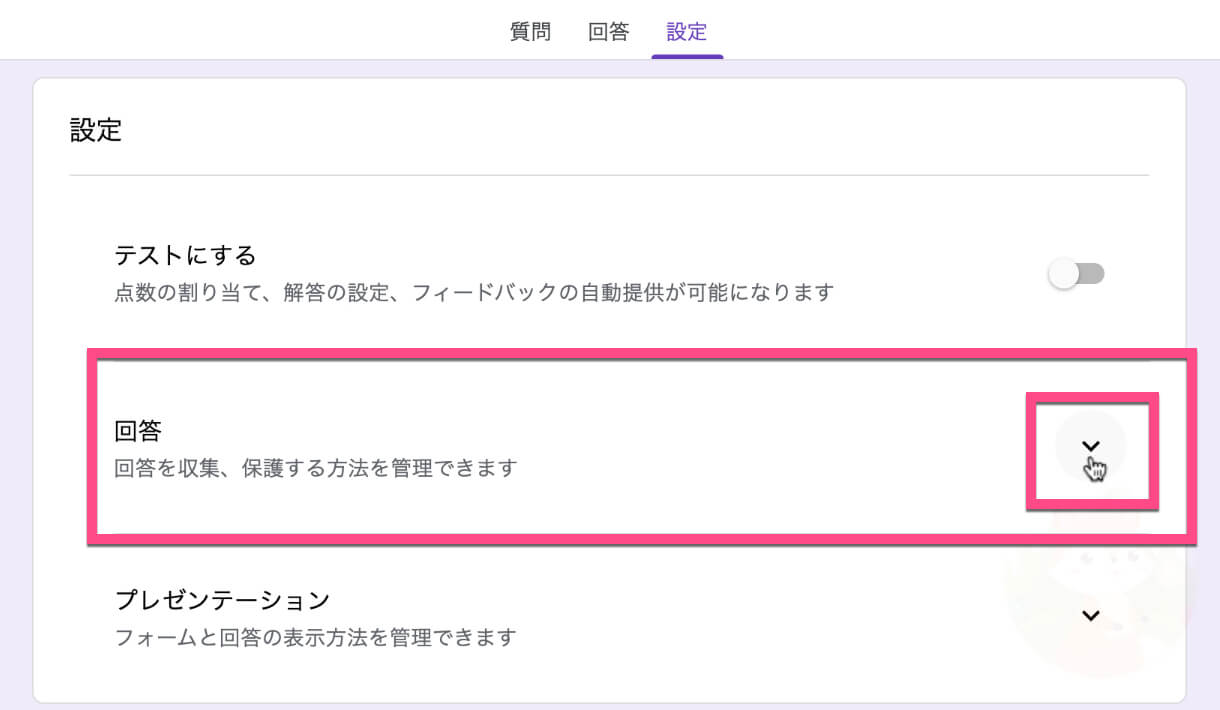
「回答」の右《下矢印》をクリックします。
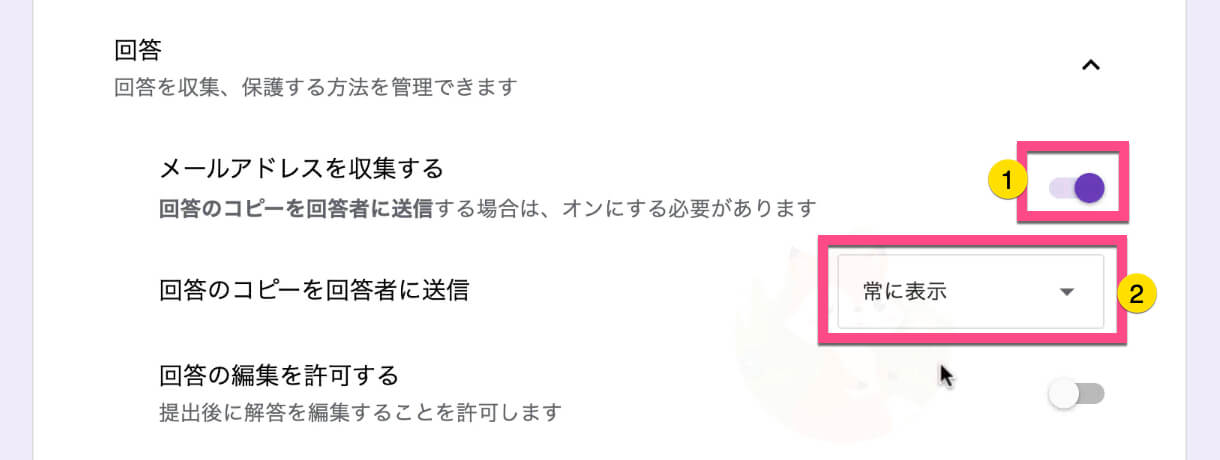
- 「メールアドレスを収集する」のスイッチをクリックして《オン》にします。
- 「回答のコピーを回答者に送信」を《常に表示》にクリックします。
ログインの必須を確認する
お使いのアカウントが「信頼できる組織のユーザーに限定する」をクリックして《オフ》にする。

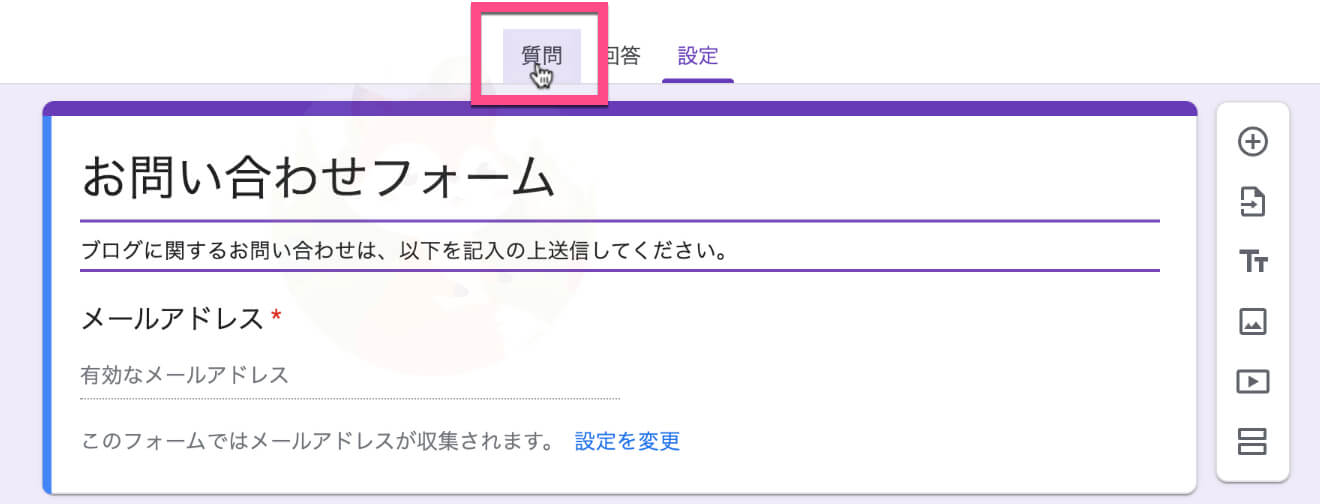
では、上部の《質問》をクリックしてお問合せフォームの続きを作成していきます。
お問い合わせフォームの項目を作っていく
「お名前」の項目を作る
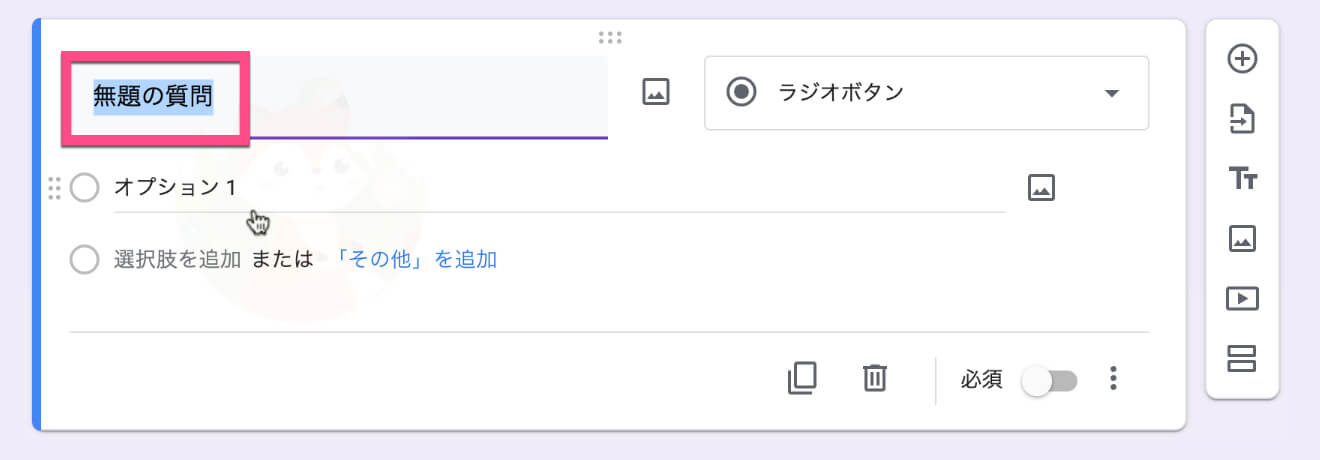
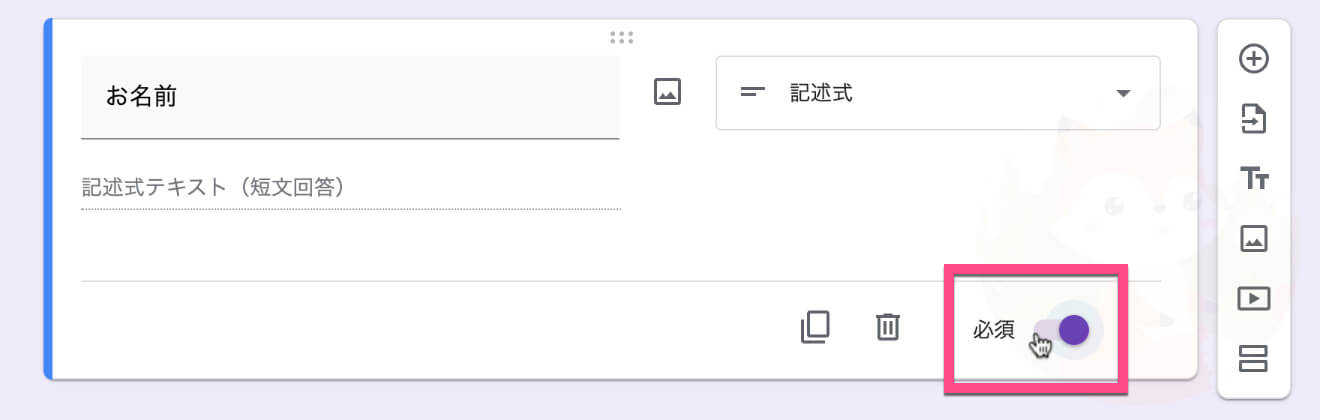
最初の「無題の質問」をクリックして、「お名前」と記入します。
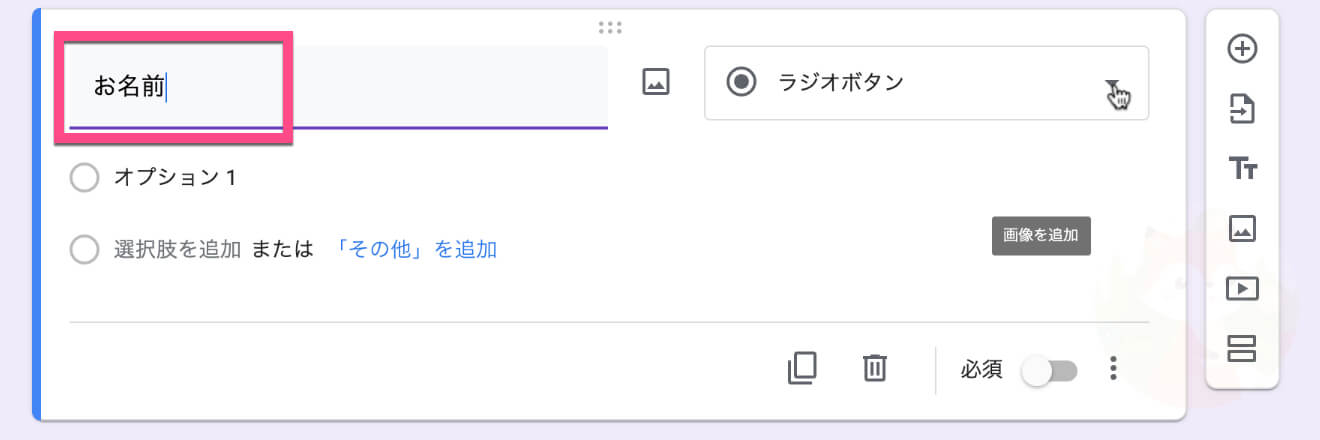
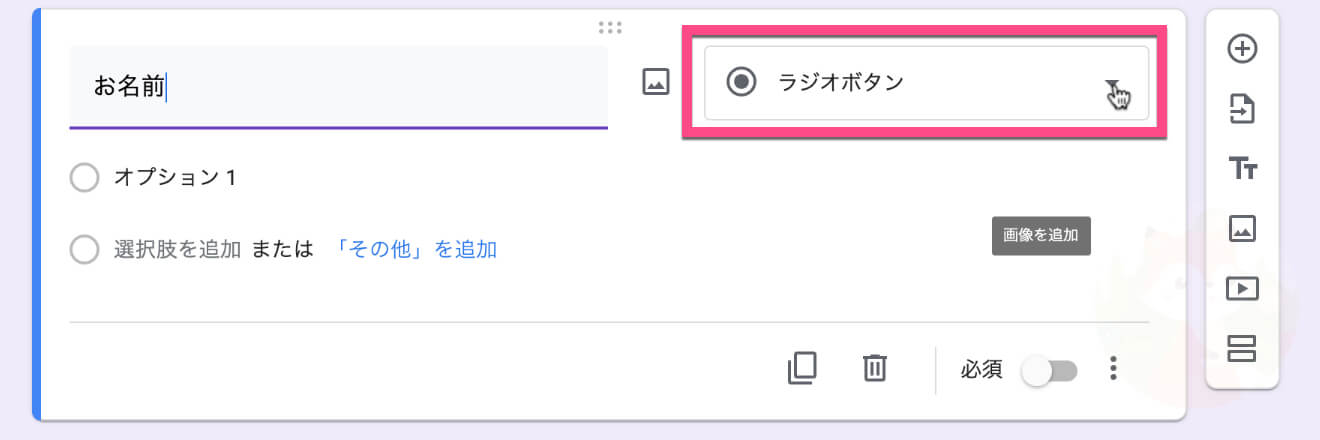
《ラジオボタン》をクリックして《記述式》に変更します。
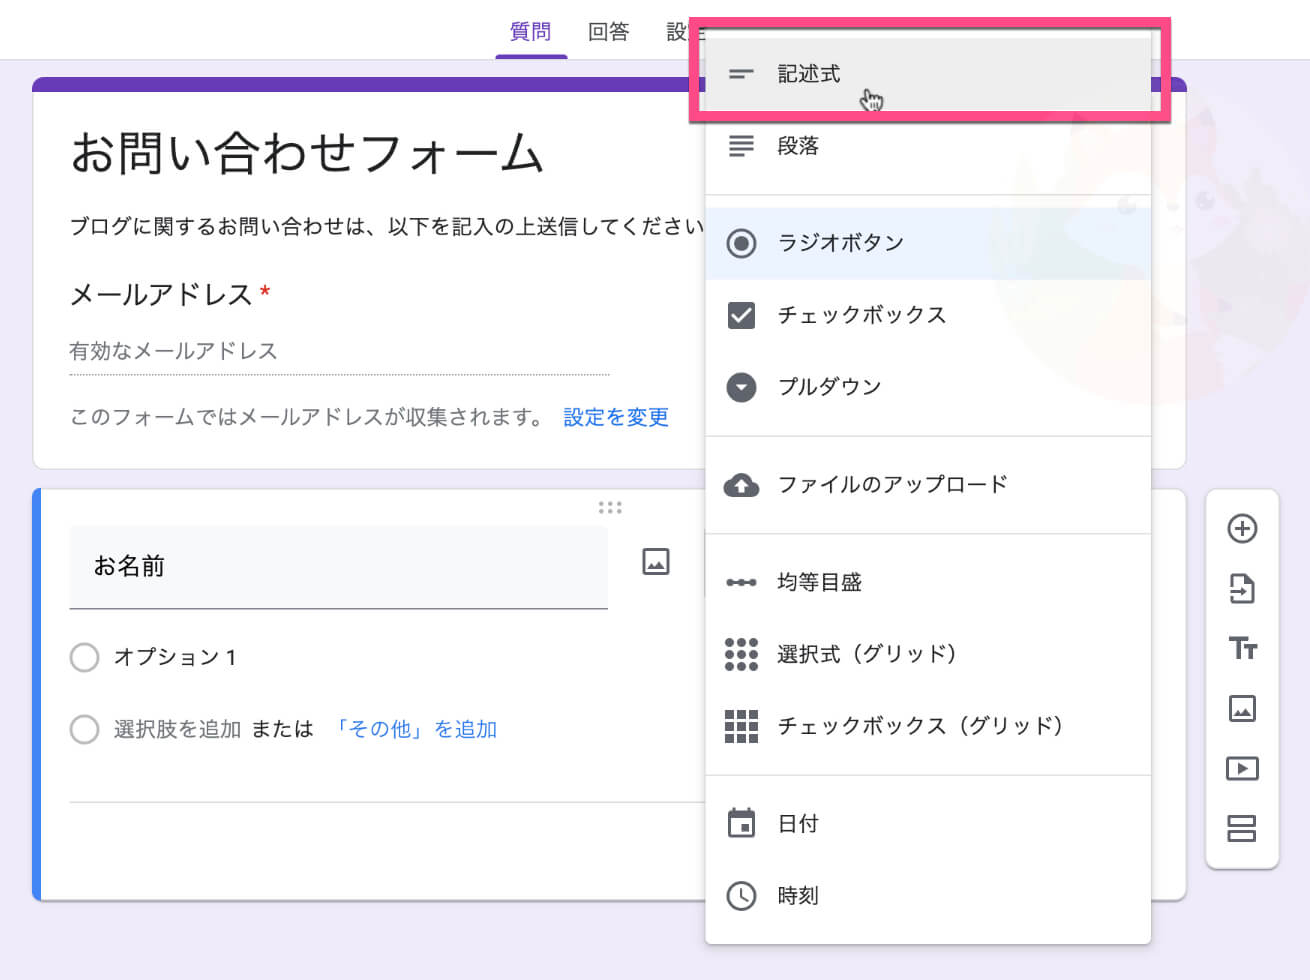
《必須》クリックしてオンにします。
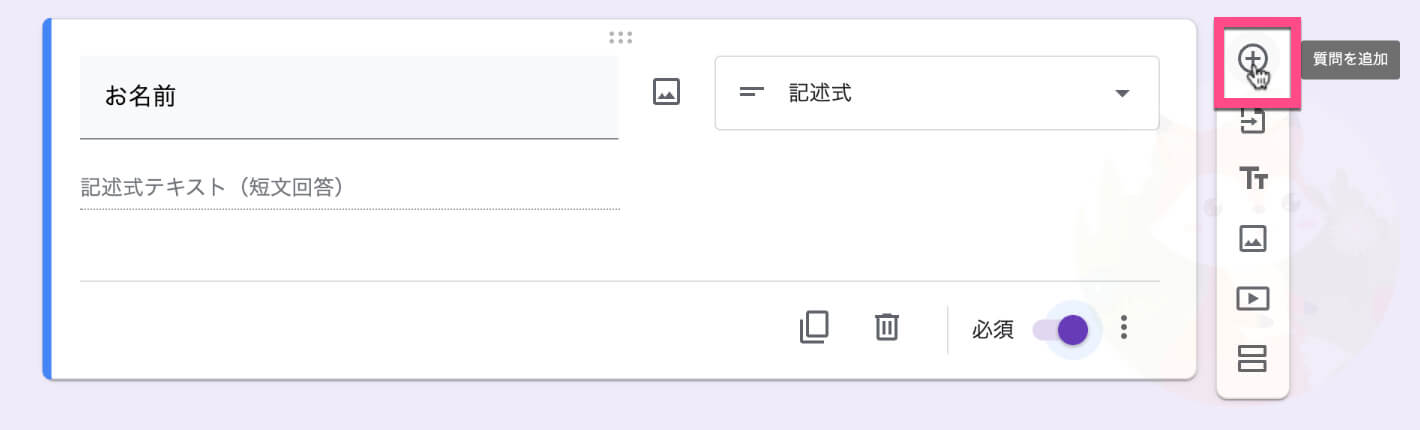
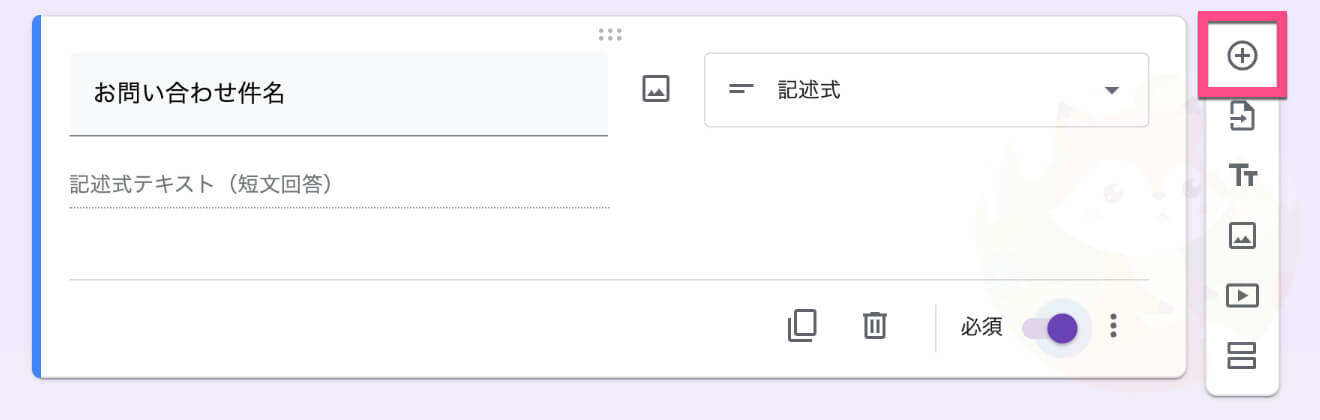
1つ目の「お名前」項目の右にある《+(質問を追加)》をクリックして項目を追加します。
「お問い合わせ件名」を追加する
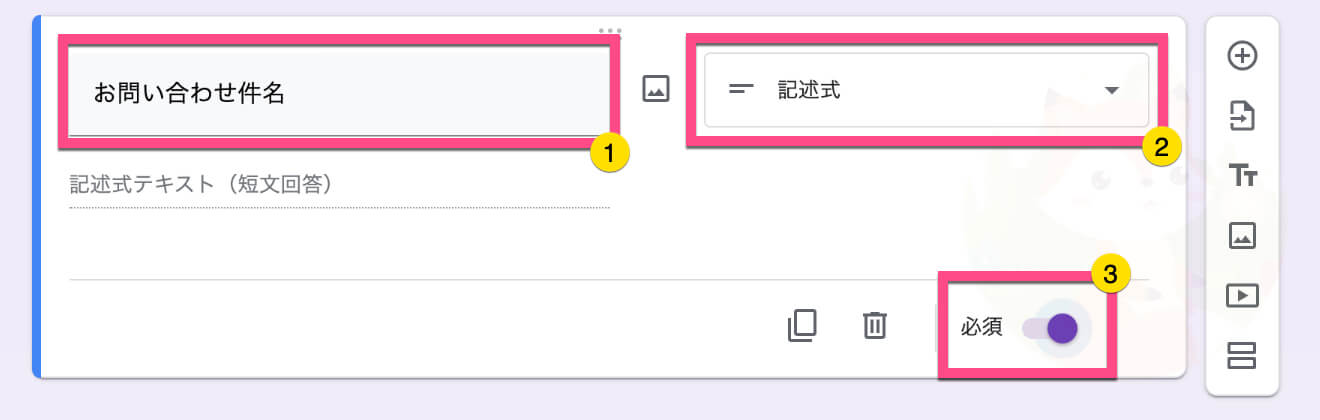
- 項目名を「お問い合わせ件名」に変更する。
- 《記述式》に変更する。
- 《必須》をオンにする。
2つ目の「お問い合わせ件名」項目の右にある《+(質問を追加)》をクリックして項目を追加します。
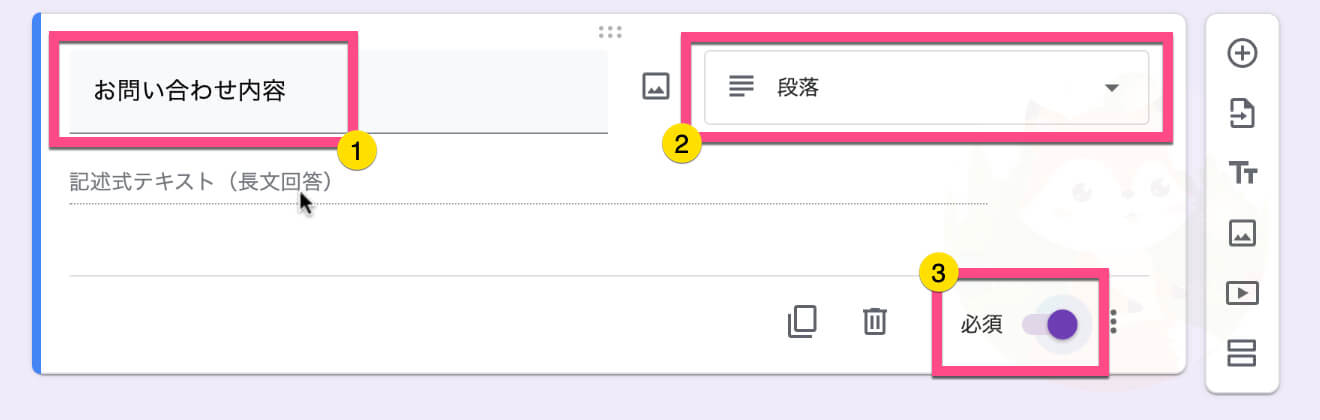
「お問い合わせ内容」を追加する
- 項目名を「お問い合わせ内容」に変更する。
- 《段落》に変更する。
- 《必須》をオンにする。
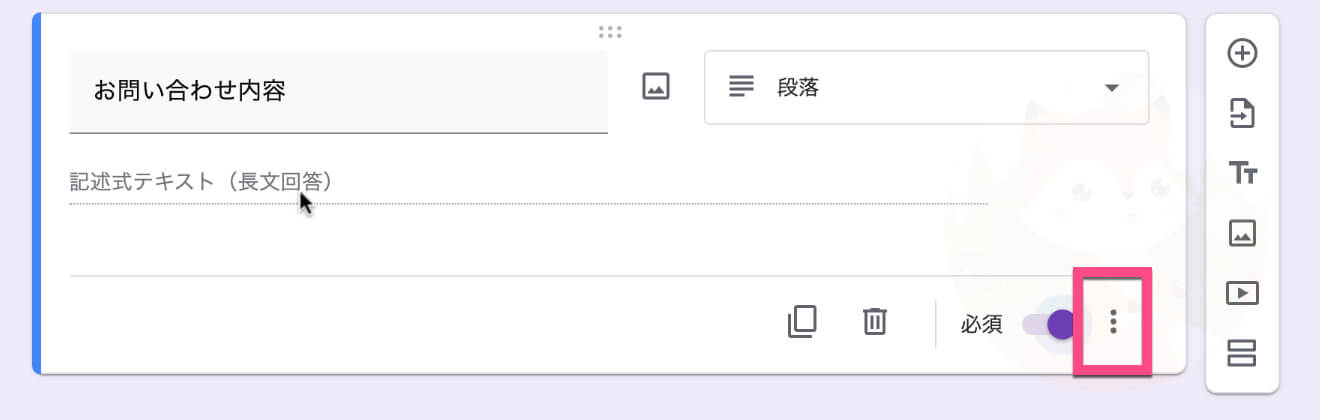
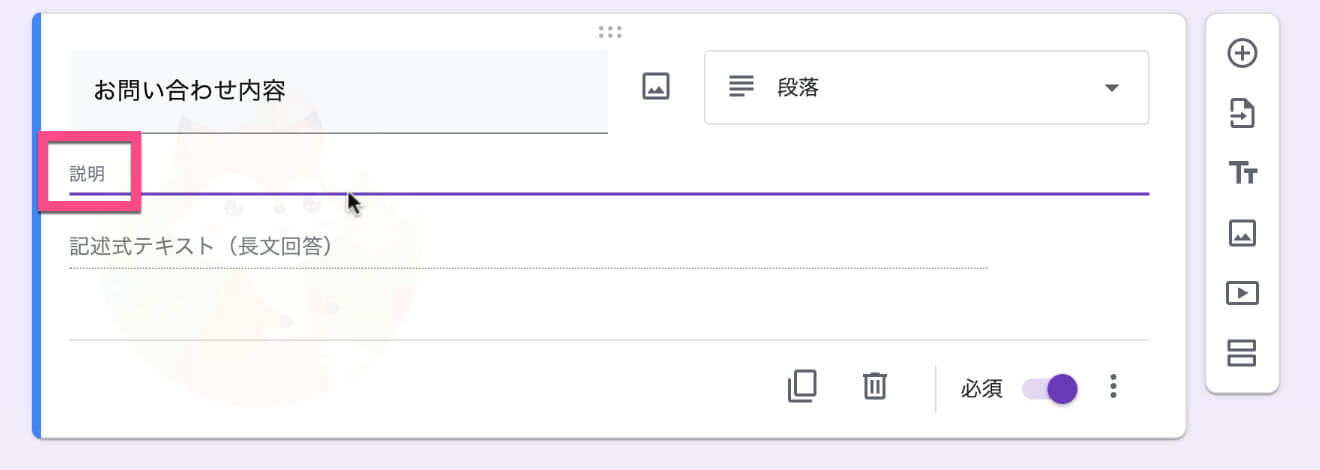
「必須」の右にある《︙》をクリックする。
《説明》をクリックします。
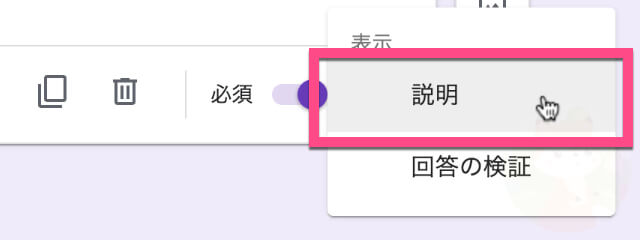
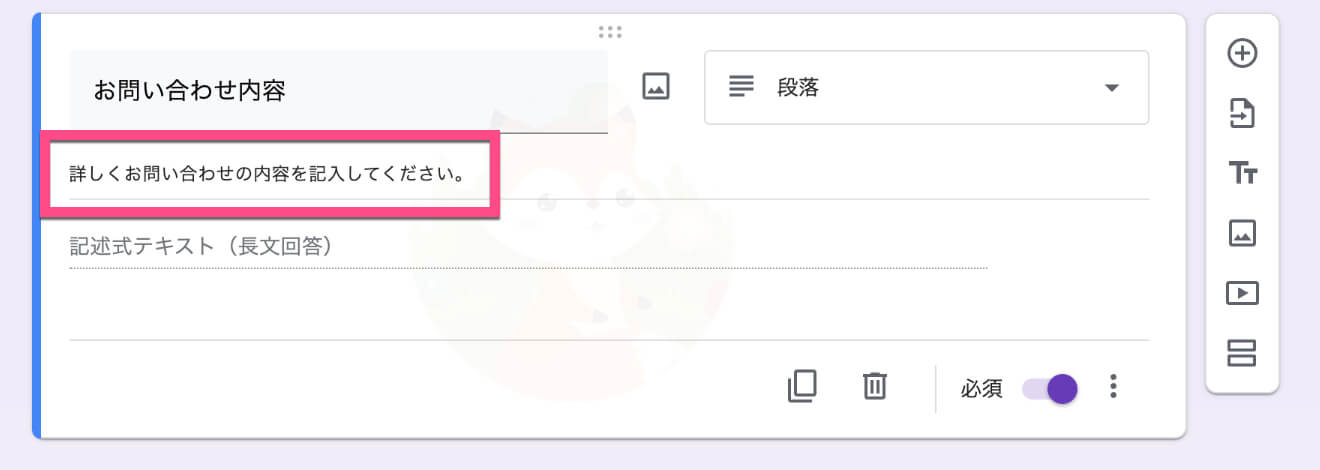
項目名の下に「説明」が追加されるのでクリックして文章を記入します。
Googleのお問い合わせフォーム完成
これで「Googleのお問い合わせフォーム」が完成です。

自動返信メールを整える
さらにお問い合わせフォームとして信頼を高めるために、お問い合わせいただいた方へ自動返信を設定するといいです。
以下を参考にして設定してください。
回答を集計するためにスプレッドシートと連携させる
Googleのお問い合わせフォームの作り方のまとめ
Googleのお問い合わせフォームの作り方
は参考になりましたか?
実際にこのあとWordPressブログに埋め込んだり、QRコードを作成したりして実際に活用することが可能です。
以下の記事を参考にしてください。
お役立ち感謝&教えてコメント
コメント一覧 (2件)
ありがとう
ピュアさん
この度は、当ブログを参考にしていただきありがとうございます^^
フォームズです。
わざわざコメントしていただきありがとうございます!!